Create Easter eggs bursting with colour, with this fun process art and tape resist painting activity.
 |
| Rolling Pin Painted Eggs. |
What you need:
- white card cut into egg shapes (we did small and large)
- white card cut into egg shapes (we did small and large)
- paints- we used the IKEA MALA paints as the bright colours are so effective!
- rolling pins
- painter's tape
- rolling pins
- painter's tape
 |
| The set up. |
How it works:
There is a little bit of prep involved- if your kids are older they can probably do some of this themselves! Cut the white card into egg shapes- I cut some large for big bro and some smaller for baby sis. Then use the painter's tape to create patterns on the eggs. Big bro helped with this part and enjoyed choosing where to stick the tape.
A good tip is to leave some of the painter's tape hanging over the edges of the eggs so that you can stick it to some scrap paper when rolling on the paint. This stops the egg from moving around too much.
Now comes the fun part. Ask your kids to squirt some paint onto the eggs. They can do blobs or lines, whatever they like really! Both big bro and baby sis enjoyed this part!
Then simply use the rolling pin to spread the paint all over the eggs. The great thing about this method is that it is an easy way to cover the eggs with colour, in a short period of time- perfect for short attention spans!
Big bro loved watching the colours mix as he rolled the rolling pin back and forth.
It was great that even my one year old could be hands on with this activity. She certainly didn't use the rolling pin in a conventional way- but she sure did enjoy exploring how it spread the paint over the eggs!
It was also a good opportunity for baby sis to enjoy some sensory stimulation by using her fingers to make marks with the paint.
Once the eggs were all covered in paint we left them to dry for a few hours.
Then it was simply a case of gently removing the painter's tape to reveal the white patterns on the eggs. Big bro was really impressed with this part!
These will make lovely Easter cards. We might even add some sequins or a little glitter to the white patterns to decorate the eggs further. Such a fun process art project for all ages!
A good tip is to leave some of the painter's tape hanging over the edges of the eggs so that you can stick it to some scrap paper when rolling on the paint. This stops the egg from moving around too much.
Now comes the fun part. Ask your kids to squirt some paint onto the eggs. They can do blobs or lines, whatever they like really! Both big bro and baby sis enjoyed this part!
 |
| Add paint to the card eggs. |
 |
| Baby sis squirting on some more paint blobs. |
 |
| Big bro enjoyed swirling the colours together. |
Then simply use the rolling pin to spread the paint all over the eggs. The great thing about this method is that it is an easy way to cover the eggs with colour, in a short period of time- perfect for short attention spans!
 |
| Ready to roll! |
 |
| The colours spread so easily. |
Big bro loved watching the colours mix as he rolled the rolling pin back and forth.
 |
| Covering the egg with colour. |
 |
| Testing out the larger rolling pin on the big eggs. |
It was great that even my one year old could be hands on with this activity. She certainly didn't use the rolling pin in a conventional way- but she sure did enjoy exploring how it spread the paint over the eggs!
 |
| Baby sis exploring how the rolling pin worked. |
 |
| Investigating the transfer of colours onto the rolling pin. |
 |
| Baby sis finger painting. |
Once the eggs were all covered in paint we left them to dry for a few hours.
 |
| Let the paint dry before removing the tape. |
Then it was simply a case of gently removing the painter's tape to reveal the white patterns on the eggs. Big bro was really impressed with this part!
 |
| Ready to peel. |
 |
| Peeling off the tape to reveal white decorations on the egg. |
These will make lovely Easter cards. We might even add some sequins or a little glitter to the white patterns to decorate the eggs further. Such a fun process art project for all ages!
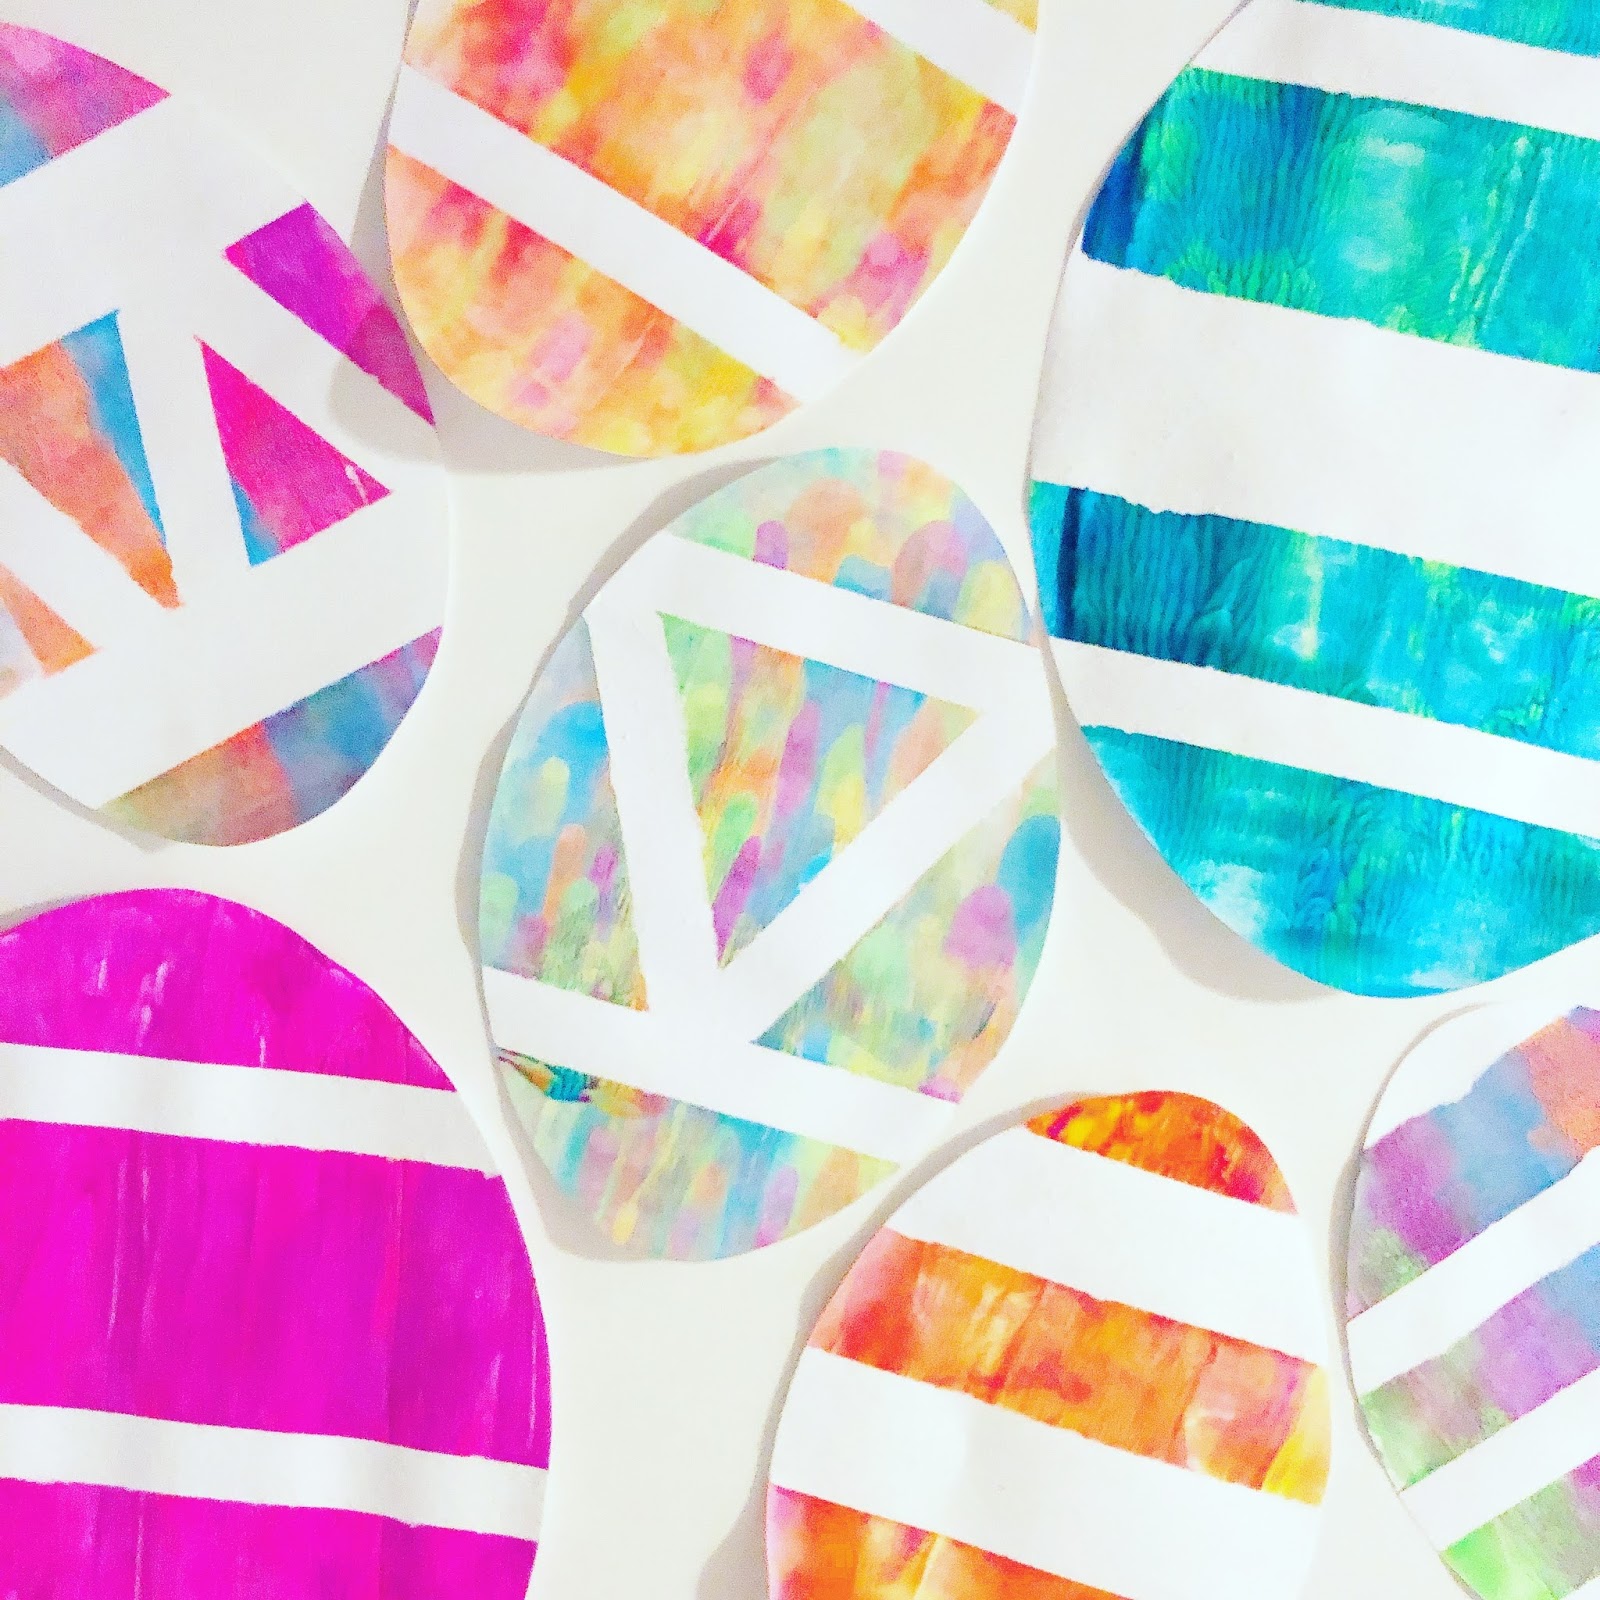 |
| The finished eggs. |
No comments :
Post a Comment