Use bleeding tissue paper and water to add a vibrant backdrop to hand-drawn flowers.

What you need:
- bleeding tissue paper (we got ours at Discount School Supply)
- A4 white card or watercolor paper
- Sharpie marker
- water and a spray bottle
- a tray or messy mat (we use the PlaSmart Messmatz, large size)

How it works:
We did this activity as a family and I loved that both my 2 year old and 5 year old could join in. We started off by ripping the bleeding tissue paper into small pieces and sorting them into colors. Then it was time to draw the flowers, I helped 2 yr old baby sis with this.

This was a great opportunity to talk to big bro about the different types of flowers and how to make the shapes.

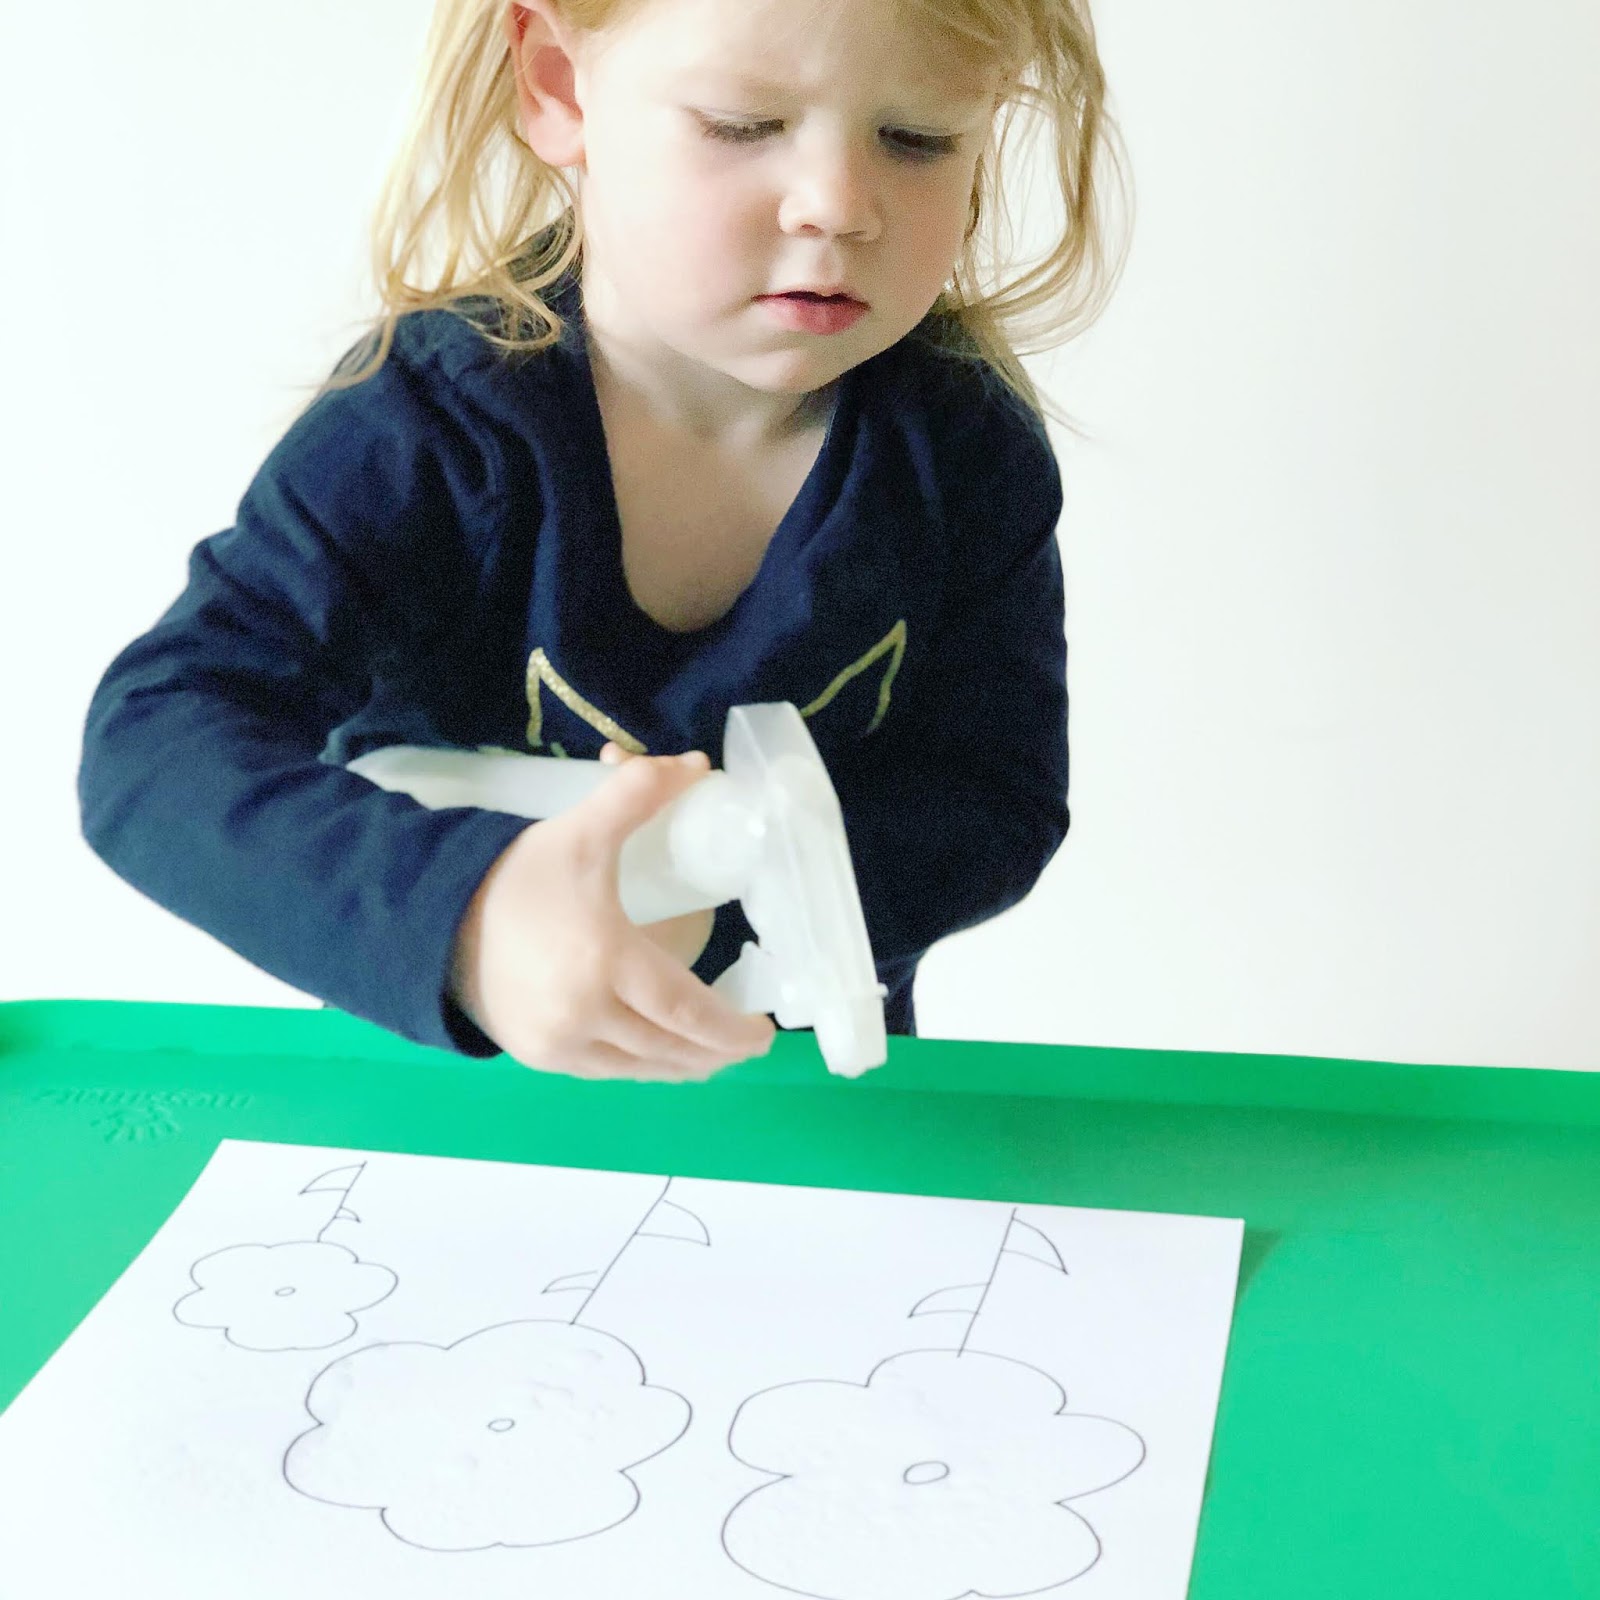
Once we all had some flowers on our page, we used the spray bottle to add a light coating of water- this is why it is important to use a permanent marker!

Next up we all started to add pieces of the bleeding tissue to our piece of card. The water on the card means that the tissue paper sticks easily which makes the activity much easier for a toddler.


Baby sis chose a fiery backdrop, whilst big bro carefully made a blue sky, some grass and then he used yellow for his flowers. I opted for lovely pink and purple.


As we added the pieces of bleeding tissue, I encouraged my kids to add more sprays of water to help the color run.

Once the kids had covered their pages with color, it was time for a final water squirt before leaving the pictures to dry for a few hours.

Once the tissue paper has dried, it will peel right off leaving the most bright and bold markings.

The end pictures turned out beautifully, and I love how different each one is! Process art for the win.

- A4 white card or watercolor paper
- Sharpie marker
- water and a spray bottle
- a tray or messy mat (we use the PlaSmart Messmatz, large size)
How it works:
We did this activity as a family and I loved that both my 2 year old and 5 year old could join in. We started off by ripping the bleeding tissue paper into small pieces and sorting them into colors. Then it was time to draw the flowers, I helped 2 yr old baby sis with this.
This was a great opportunity to talk to big bro about the different types of flowers and how to make the shapes.
Once we all had some flowers on our page, we used the spray bottle to add a light coating of water- this is why it is important to use a permanent marker!
Next up we all started to add pieces of the bleeding tissue to our piece of card. The water on the card means that the tissue paper sticks easily which makes the activity much easier for a toddler.
Baby sis chose a fiery backdrop, whilst big bro carefully made a blue sky, some grass and then he used yellow for his flowers. I opted for lovely pink and purple.
As we added the pieces of bleeding tissue, I encouraged my kids to add more sprays of water to help the color run.
Once the kids had covered their pages with color, it was time for a final water squirt before leaving the pictures to dry for a few hours.
Once the tissue paper has dried, it will peel right off leaving the most bright and bold markings.
The end pictures turned out beautifully, and I love how different each one is! Process art for the win.
No comments :
Post a Comment