No need to spend loads of money- make your own lightbox for $10! There are so many open-ended play possibilities with this new resource!
 |
| DIY Love Lightbox |
What you need:
- Plastic container with a clear lid (we got ours for $4 from Walmart)
- Plastic container with a clear lid (we got ours for $4 from Walmart)
- one sheet of white tissue paper
- clear tape
- small lights, ideally battery operated (we got ours from Target, $3 per pack)
- a selection of small manipulatives (we used glass pebbles and heart cookie cutters)
- clear tape
- small lights, ideally battery operated (we got ours from Target, $3 per pack)
- a selection of small manipulatives (we used glass pebbles and heart cookie cutters)
 |
| Plastic container and lights. |
How it works:
I have been wanting to make a lightbox for my 4 year old for some time now but always hesitated due to the light cords and baby sis. Hence I was super excited when I came across these cute diamond shaped battery operated lights in the Target dollar section.
First of all give your plastic container a quick wipe down to make sure it is nice and clean. Once it is dry, use clear tape to attach one sheet of white tissue paper to the underside of the container lid. This gives a cool frosted glass look to the lightbox. Then arrange the lights however you wish inside the container. I used one set of clear and one set of pink to suit our Valentine's theme. I just tucked the battery packs away in a corner.
Clip the lid onto the container and there you have it, your DIY lightbox is complete. It's so surprisingly easy!! All that's left to do is choose a few loose parts for your child to play with. I chose glass pebbles as they are relatively transparent therefore they look really cool over the lights. I put some heart cookie cutters out too.
My 4 year old gave out the cutest little gasp as I revealed the lightbox to him. He was genuinely in awe of the frosted colours shining through. Of course before we could do anything he wanted to open the lid and assess how it all worked. I love his inquisitive nature!
He enjoyed filling the heart cookie cutters with the different pebbles and then lifting the cookie cutter up to watch the pebbles all tumble out.
We then spent some time together seeing what we could make from the pebbles. I showed him a few examples for inspiration and then he was away and happily creating independently.
It was near impossible to keep baby sis at bay too much but I was obviously super careful with the small pebbles. She was mesmerised by the bright container top and enjoyed pushing pebbles around on it.
I'm really excited about exploring our new lightbox with different materials in the future. It was such a cheap and easy resource to make and it certainly has the 'wow factor' for both my kids!
First of all give your plastic container a quick wipe down to make sure it is nice and clean. Once it is dry, use clear tape to attach one sheet of white tissue paper to the underside of the container lid. This gives a cool frosted glass look to the lightbox. Then arrange the lights however you wish inside the container. I used one set of clear and one set of pink to suit our Valentine's theme. I just tucked the battery packs away in a corner.
 |
| Lights spread out in container. |
 |
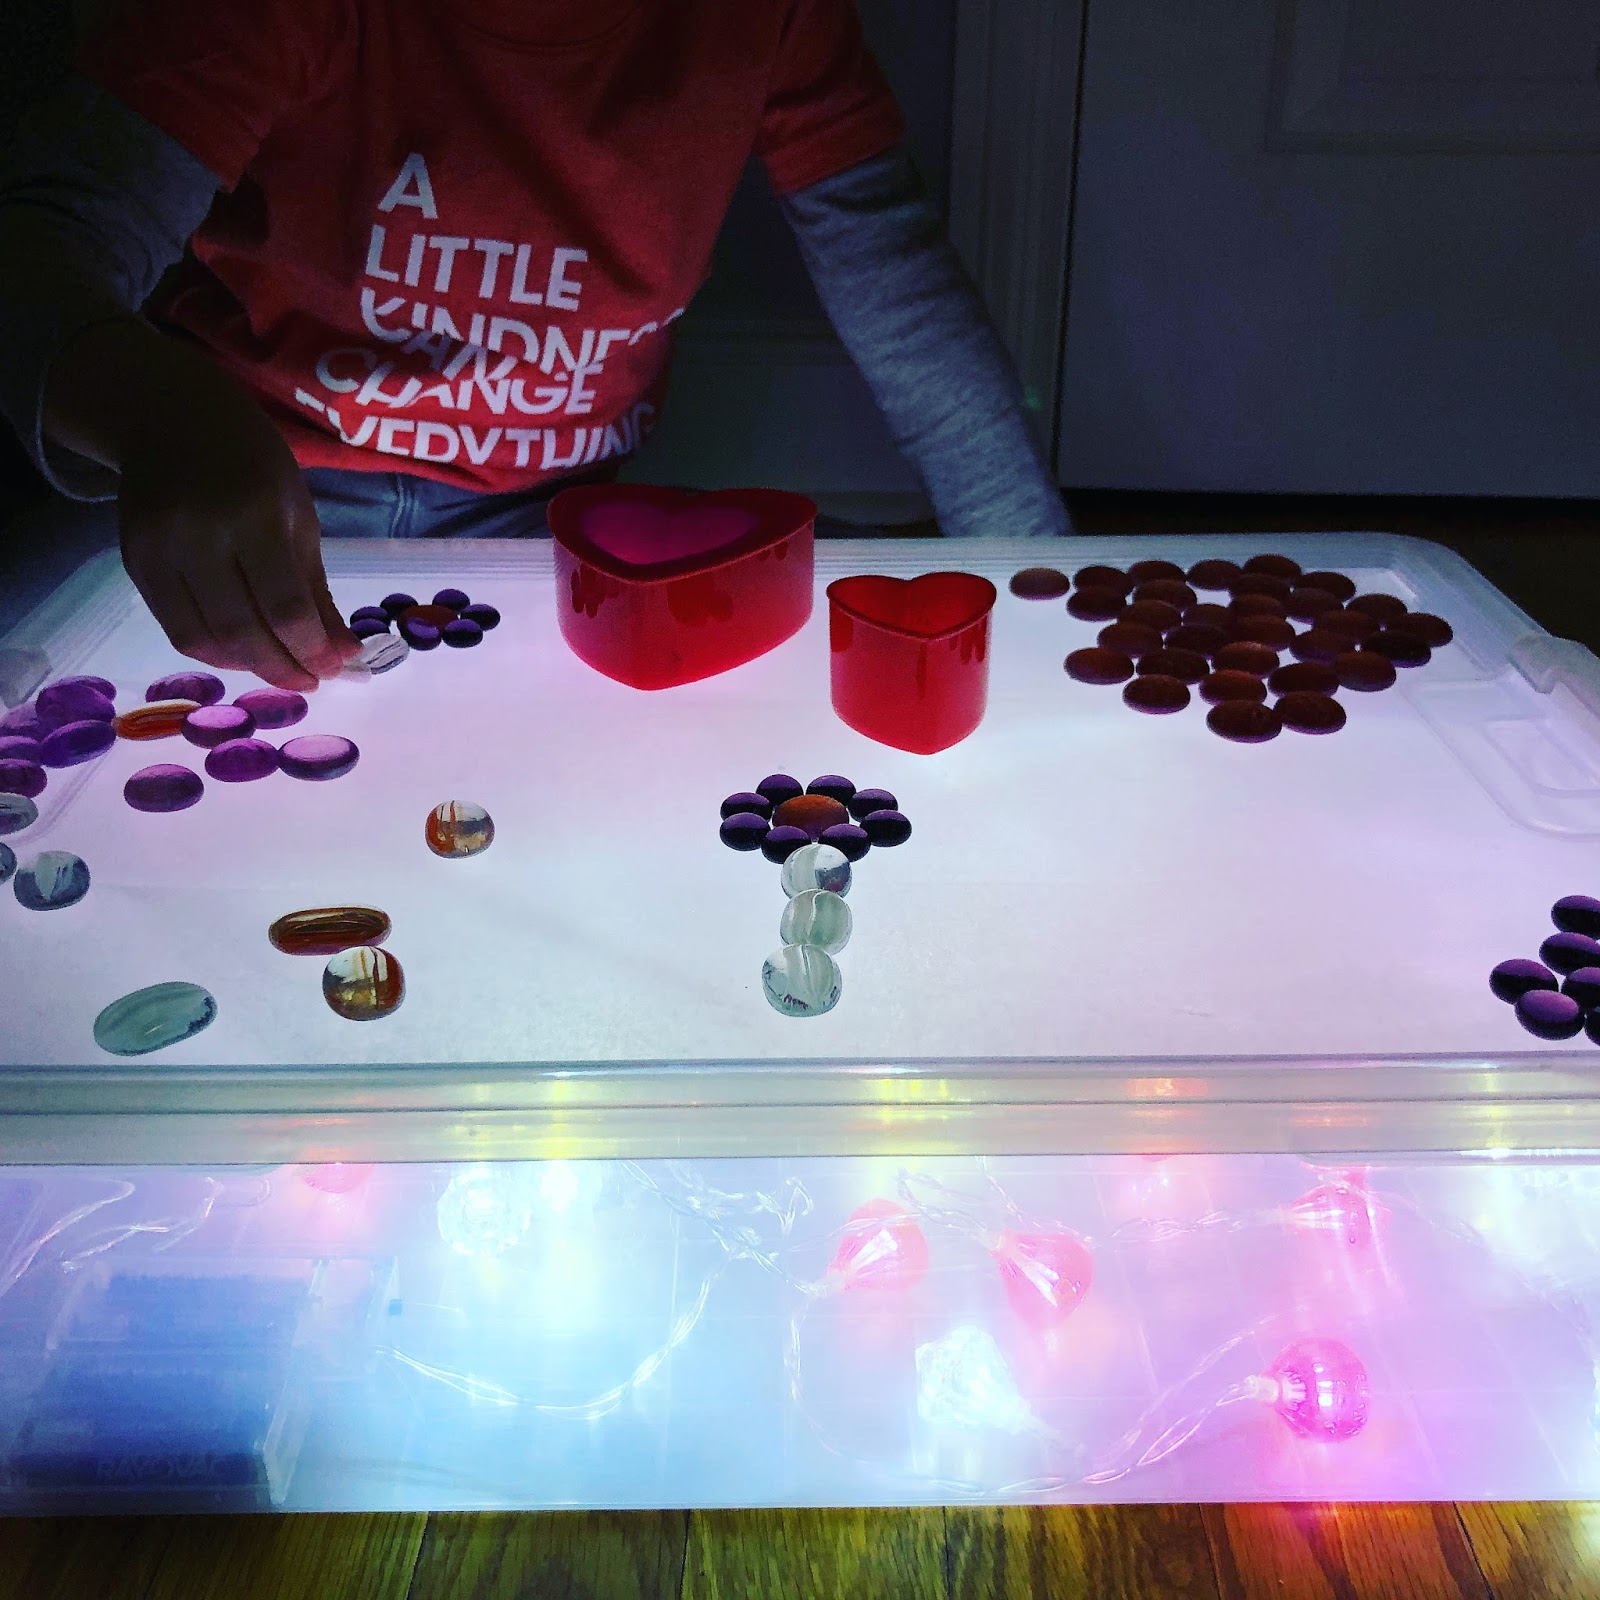
| Play set up. |
He enjoyed filling the heart cookie cutters with the different pebbles and then lifting the cookie cutter up to watch the pebbles all tumble out.
 |
| Filling the heart cookie cutter with small pebbles. |
 |
| Look at that concentration! |
 |
| Making flowers. |
 |
| Creating faces. |
 |
| Practicing his letters to spell out 'Love'. |
 |
| Baby sis couldn't be left out! |
 |
| DIY Love Lightbox in action. |
No comments :
Post a Comment