These cute little handmade donut gift cards went down a treat with my son's teachers.
This post contains affiliate links.
What you need:
- white card or watercolor paper
- watercolor paints (we used the Ooly Lil' Watercolor Pods)
- paint brushes
- pencil
- scissors
- glue
- craft knife
- small bowl to trace around
- it can get a little messy so a mat or a tray is a good idea (we used our trusty Messmatz)
- watercolor paints (we used the Ooly Lil' Watercolor Pods)
- paint brushes
- pencil
- scissors
- glue
- craft knife
- small bowl to trace around
- it can get a little messy so a mat or a tray is a good idea (we used our trusty Messmatz)
I always think it is nice to make homemade cards as end of year gifts for teachers. This year my son opted for a donut theme and we added a Dunkin' Donut gift card as a way of saying thanks.
My son started off by painting two A4 pieces of white card with brown watercolor. These would later make the donut bases.
Then I traced around a small bowl to roughly mark out areas for my son to paint the icing colors. I gave him complete free reign for this. He really enjoyed deciding on the icing patterns and flavors.
The more he made, the more elaborate his donut designs got!
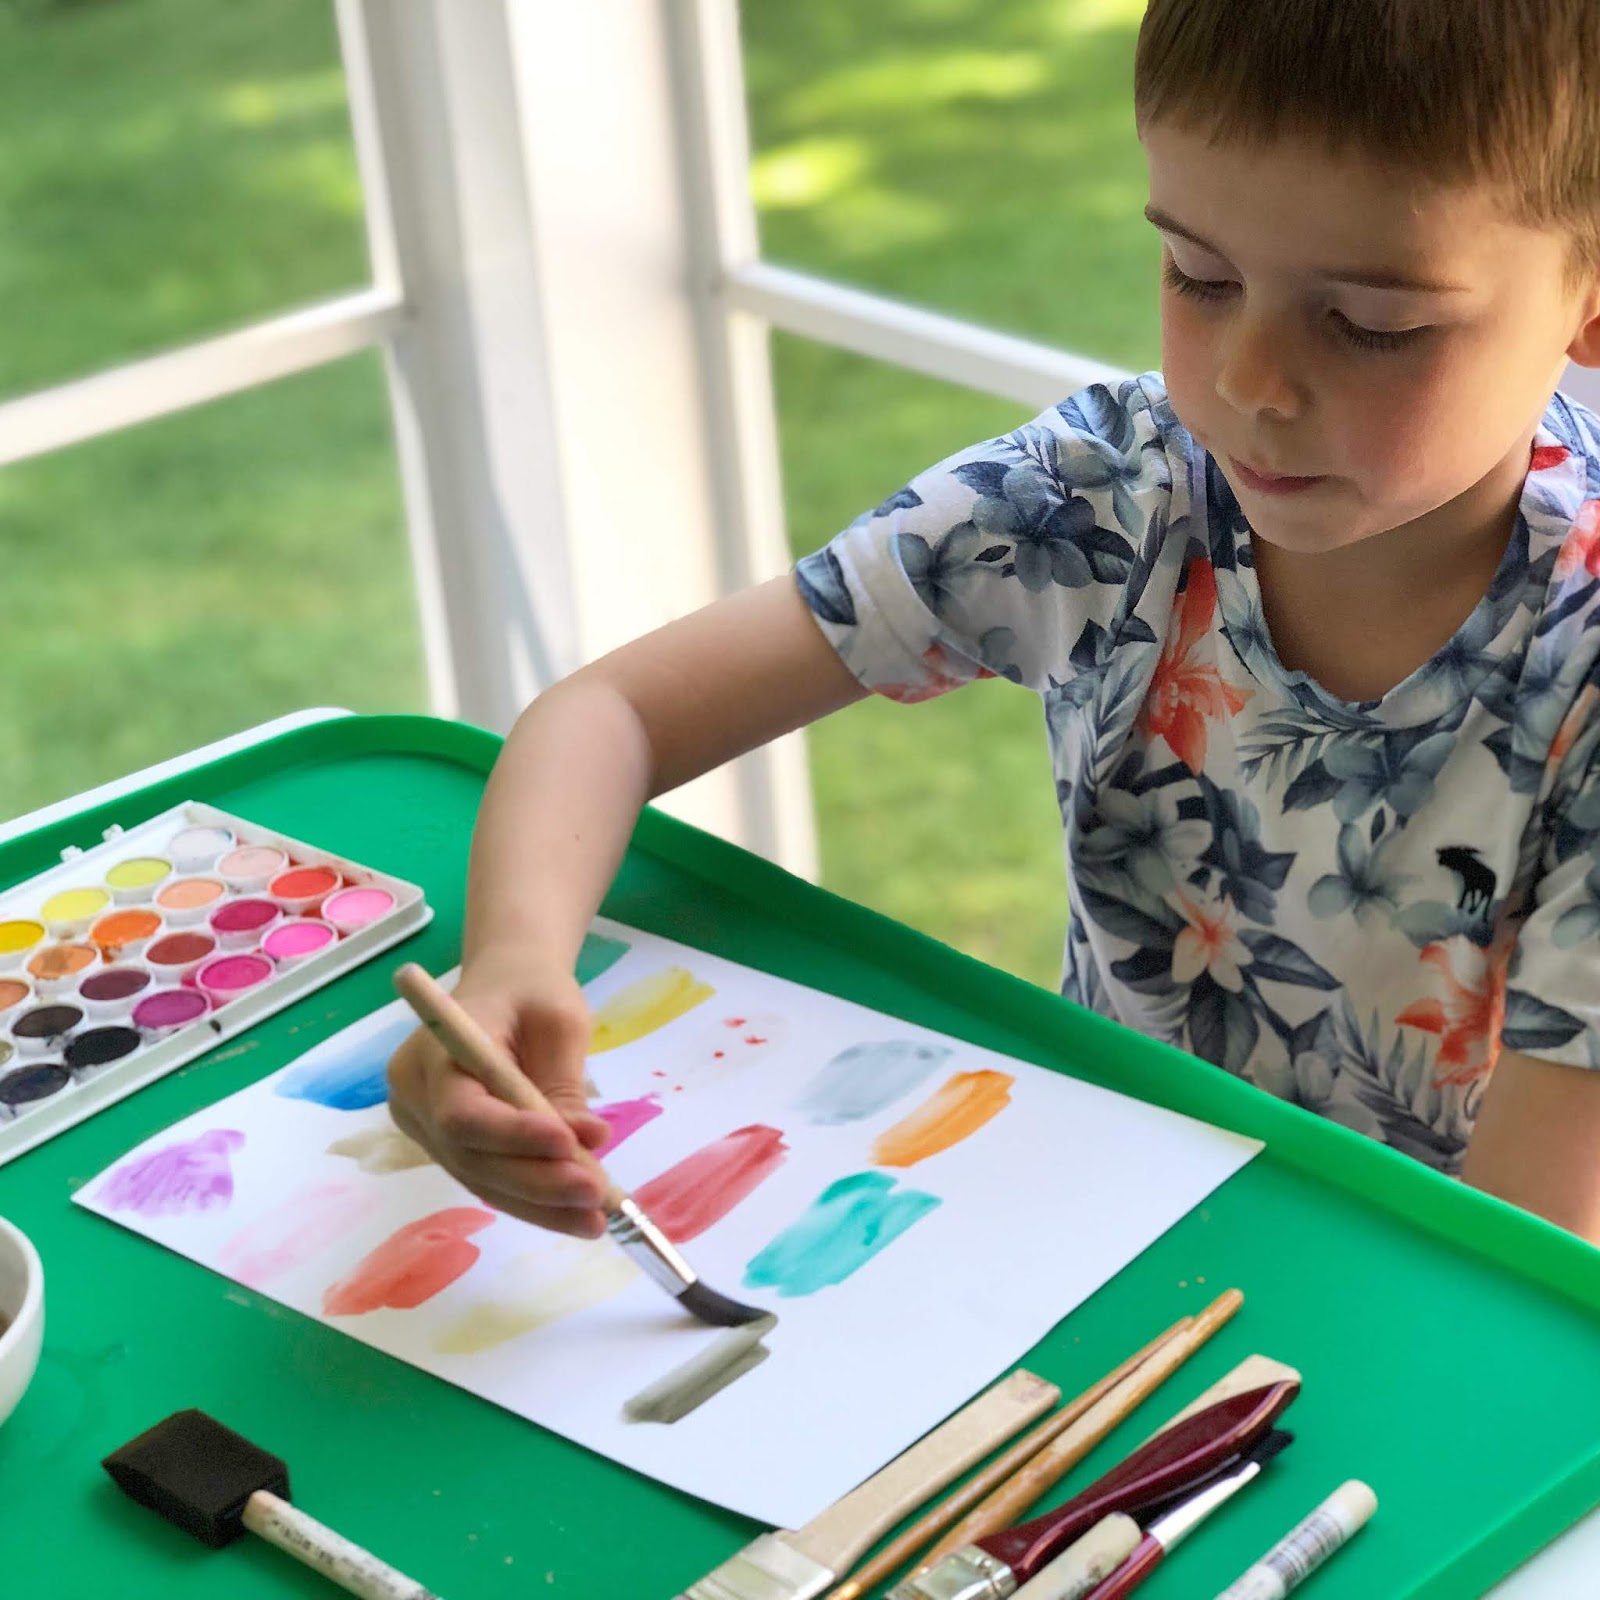
The final part of the painting session was just to make color areas which we would later cut into sprinkles. Again, he was happy to just explore all of the colors!
I loved how as he painted he would offer me a very detailed description of what flavor the sprinkle would be.
We left all of the donut components to dry for a few hours and then got to work putting them together. My son was tasked with cutting out the sprinkles from the colors he had painted. Meanwhile I cut out donut rounds from the brown pages, and curvy icing segments from his beautiful creations. He then helped me to stick the icing onto the donut bases. I did the next part as it required a sharp craft knife to cut out a hole in the middle. Then he finished off the project by sticking the sprinkles of his choice onto each donut.
They turned out beautifully and he was so happy to give them to his teachers, with a lovely note on the back reading 'I donut believe the year is over. Have a sweet summer!'.


No comments :
Post a Comment